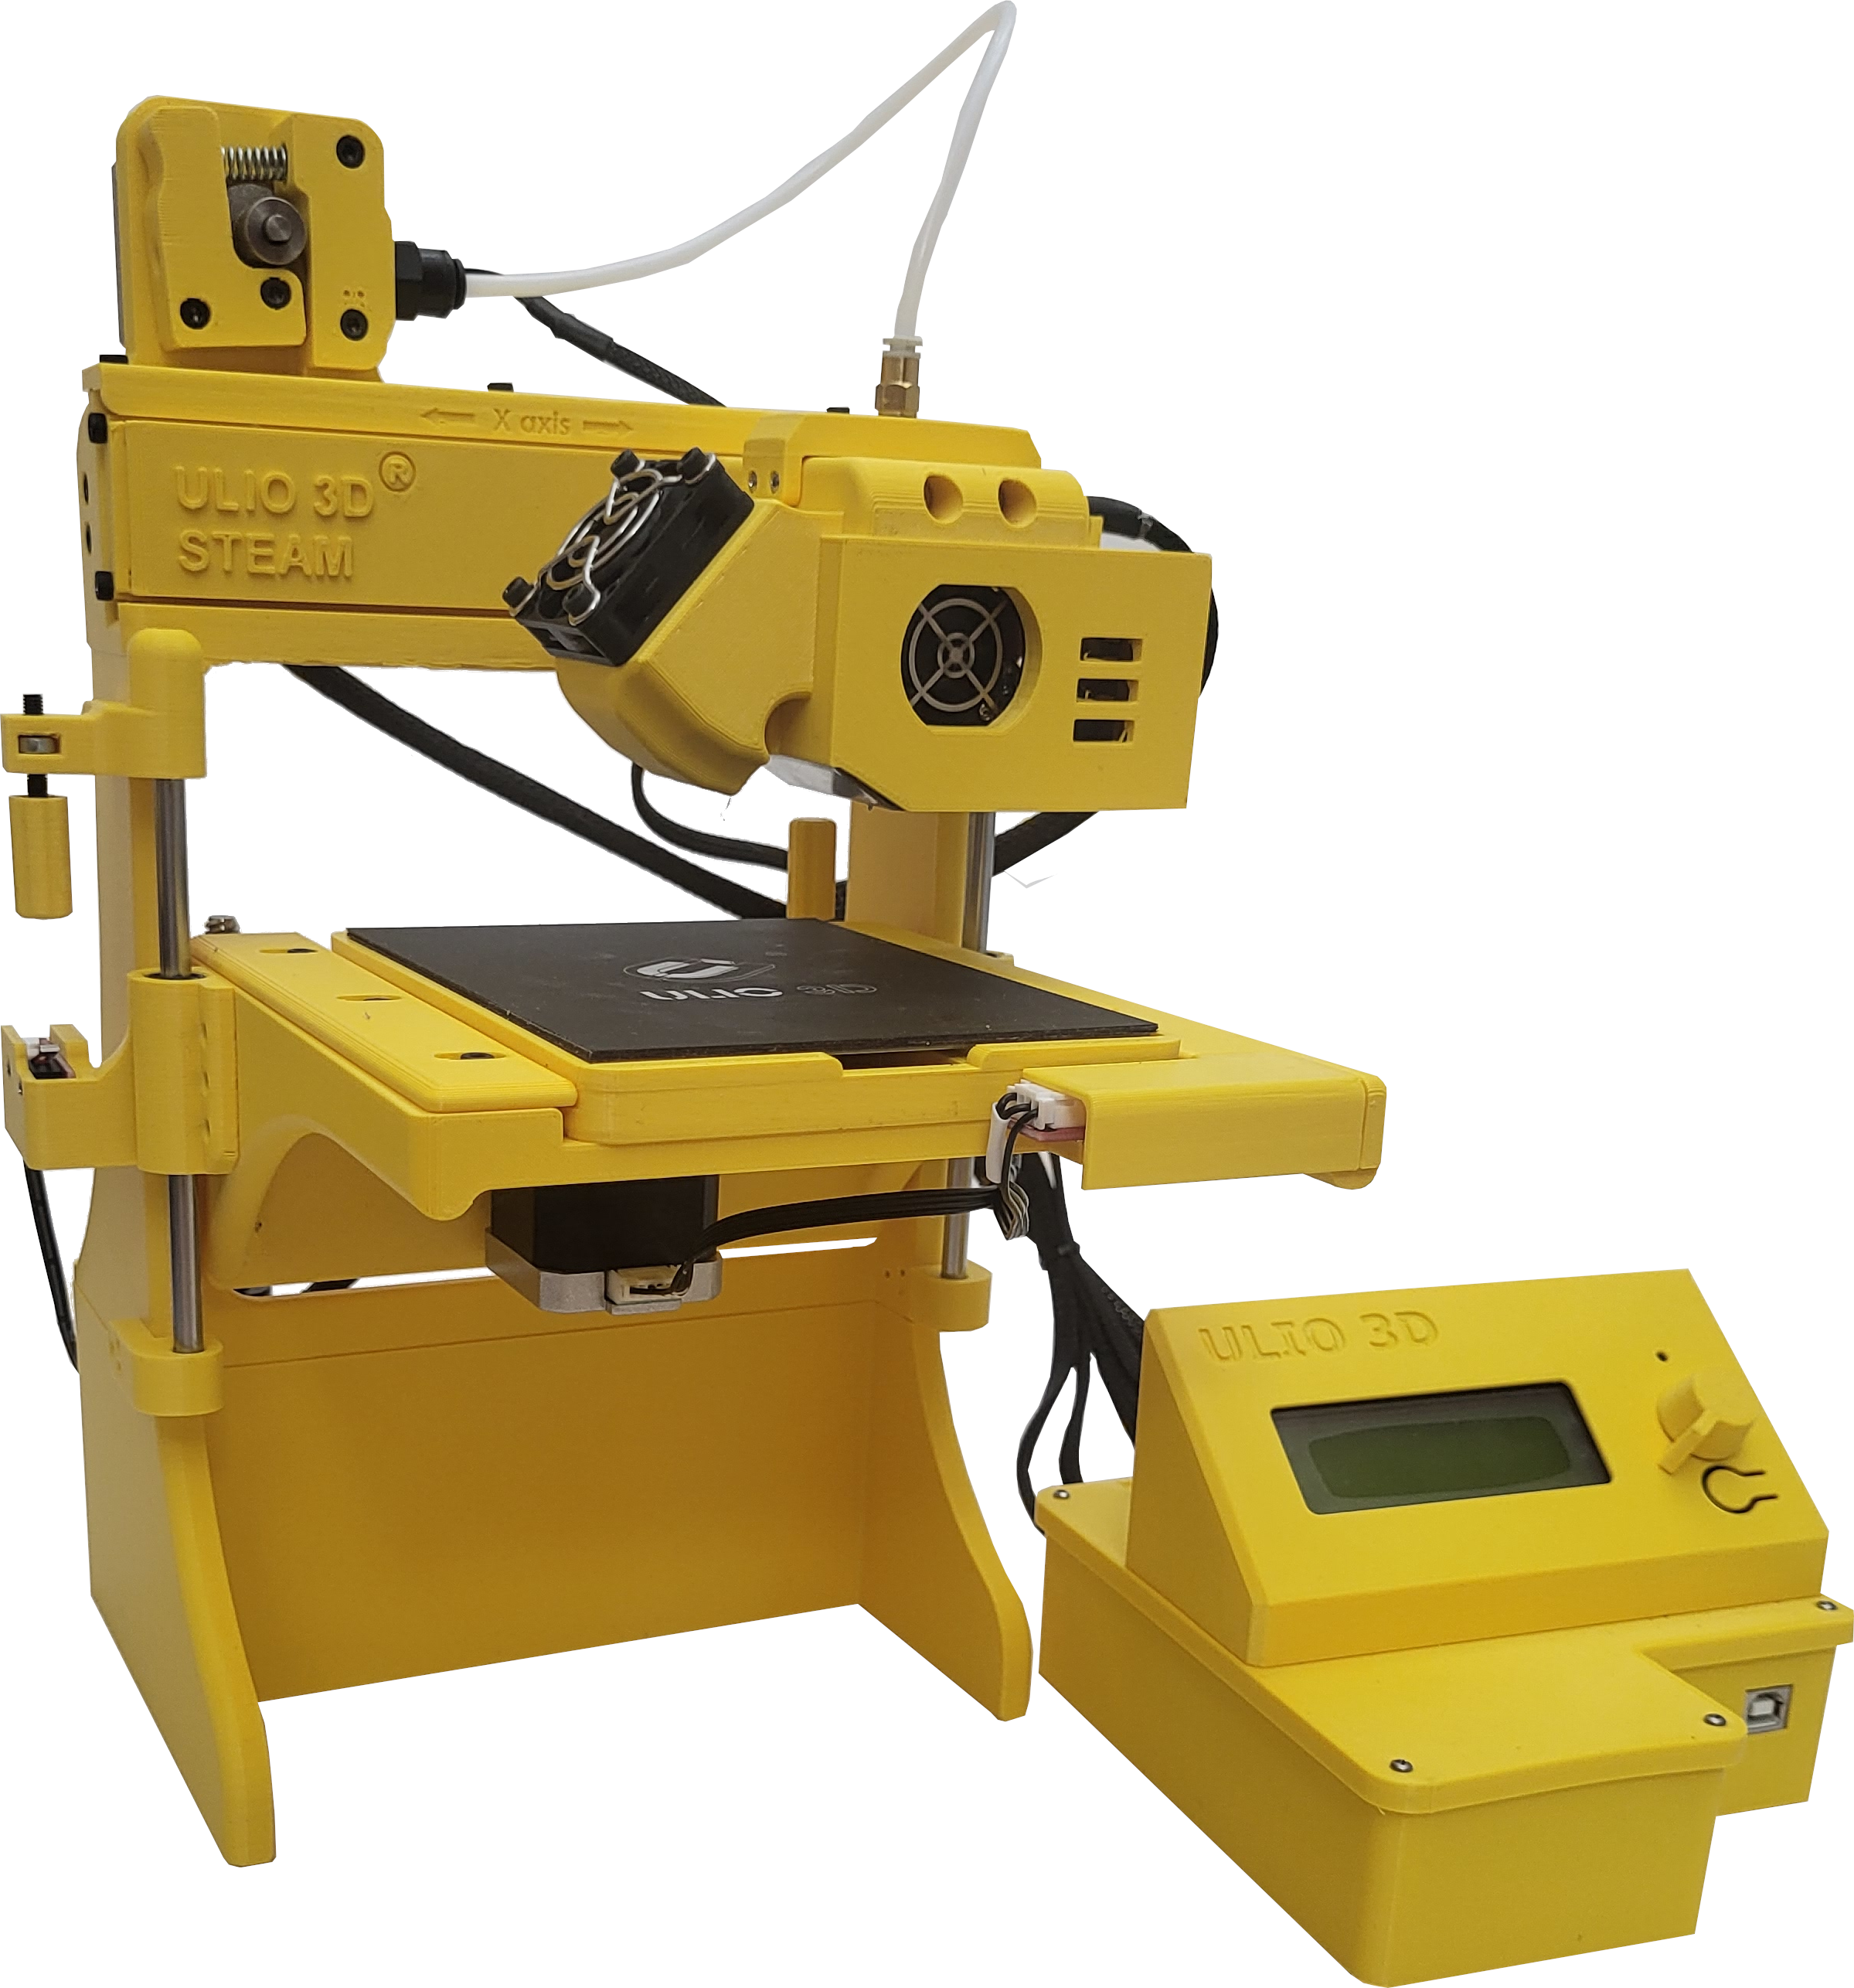
Printing procedures
Preamble
Do not print in a cold room (min 20 °C) or a very hot room (max 27 °C)
Avoid drafts on the printer
Print in a well-ventilated area
Do not print with ULIO 3D STEAM™ unattended
All assembly and operation steps must be carried out under adult supervision and/or assistance.
General information
PrusaSlicer Software Installation and Configuration ( Windows, Mac, Linux )
Make sure to install the PrusaSlicer software FIRST from the following link:
Configure ULIO 3D STEAM™ in PrusaSlicer
Download the PrusaSlicer_config_bundle file
This file is also available on the Micro SD card (included in the kit)
Import the configuration file into Prusa Slicer (watch the video on the left)
You are now ready to use PrusaSlicer software with your ULIO 3D STEAM™ printer
Adjusting the distance between the nozzle and the print bed
This step is VERY IMPORTANT because it can make or break your print!
Manual adjustment of the distance between the nozzle and the print bed:
Make sure to clean the nozzle tip of any plastic residue.
Manually position the hotend nozzle in the center of the print bed. If you have a 0.2 mm adjustment gauge, you can install it in the center of the print bed
Screw the yellow adjustment bolt all the way in (it's at the top left)
Manually turn the Z-axis motor coupling clockwise to raise the print bed until the nozzle contacts the 0.2 mm gauge.
While keeping the nozzle position in contact with the 0.2 mm gauge, unscrew the yellow adjustment bolt until it closes the Z switch contact (a red light will illuminate)
Once the manual adjustment is complete, check if the distance between the hot nozzle and the print bed is correct.
Click the yellow button on the LCD display.
In the menu, select the 'Motion' option.
Click the yellow button again.
Click on the 'Home Z' option.
The Z-axis zeroing begins automatically.
A- FILAMENT LOADING
Very important:
Cut the end of the filament at a 45 degree angle
If you are having trouble getting the filament through the gold fitting on the Bowden tube, try cutting the filament 45 degrees in the other direction and then reinserting it
Straighten the tip of the filament about 3 inches
Pinch the extruder handle
Insert 2 to 3 inches of filament into the white Bowden tube
Click Load filament from the LCD controller (watch the first video on the left)
The nozzle should start heating up for PLA
IMPORTANT NOTICE
Turn off the heater (Cooldown) if you are not going to use the printer immediately (watch the second video on the left)
B-PREPARATION OF THE PRINT BED
Repeat at the beginning of each print
Lift the flexible print bed from the printer
Clean the printing surface with isopropyl alcohol ( 70% ) after every 5 prints
Reinstall the flex plate onto the print bed (as shown in the left image)
C- Generating a print file
Cette vidéo s’applique pour la ULIO 3D BRIX™ et la ULIO 3D STEAM™
Repeat at the beginning of each print
Slicing with Kiri Moto ( Chromebook )
Kiri Moto is a free online software.
Select the ULIO 3D Steam printer from the printer list instead of the ULIO 3D BRIX.
Do not change the default print settings.
Avoid printing parts with a wall thickness less than 0.8 mm
Slicing with Prusa slicer
Start the PrusaSlicer software
If you haven't already, make sure to configure ULIO 3D STEAM in PrusaSlicer (see PrusaSlicer Software Installation and Configuration at the top of the page)
DO NOT CHANGE the default print settings of the ULIO 3D STEAM™
In PrusaSlicer, select ULIO 3D STEAM™ as your 3D printer
Import the STL file dog_full_by_bs3.3mf from the Micro SD card provided in the kit
You can also visit Thingiverse to download many other STL files
If required, adjust the scale and orientation of the 3D model
Add support if needed
Do not reduce the scale of the 3D model too much.
Avoid printing parts with a wall thickness less than 0.8 mm
Slice the STL model and export the Gcode file to your micro SD card (watch the video on the left)
D-PRINTING FROM MICRO SD CARD
Repeat at the beginning of each print
Insert the micro SD card into the microcontroller
Click the LCD button
Scroll down the menu
Select Print from media
Select your Gcode file by name
Click Print again to start printing (watch the video on the left)
E- ADJUSTING THE FIRST DIAPER WITH BABYSTEP Z
Repeat at the beginning of each print
After manually adjusting the distance between the nozzle and the print bed, you will now make a much more precise adjustment with the Babystep Z function
While the printer is applying its FIRST layer, adjust the distance between the nozzle and the print bed with Babystep Z (watch the video on the left)
You have to wait for the printer to deposit its first layer of PLA
Click Tune and select Babystep Z
Choose a positive value to lower the print bed (in 0.25 mm increments)
Choose a negative value to raise the print bed (in 0.25 mm increments)
Continue adjusting the Babystep Z until your first diaper looks like this
F- FILAMENT UNLOADING
Once the print is finished, you can leave the filament in the printer, otherwise you can remove it
To unload the filament, select unload filament (watch the first video on the left)
IMPORTANT NOTICE
Turn off the heater (Cooldown) if you are not going to use the printer immediately (watch the second video on the left)
G- Detachment of the printed part
Repeat at the end of each print
Remove the print bed
Remove the flex plate from the print bed
Bend the flexible plate in all directions to detach the 3D model
Adult assistance may be required
Reinstall the flex plate on the print bed


